|
Table of Contents
Designing a Fjord
IntroductionI was just browsing Wikipedia, as I am sometimes wont to do, and I came across the article on fjords (or fiords, for the Kiwis). Absolutely spectacular scenery. In this walkthrough-style tutorial, I will attempt to build a fjord from scratch, starting with a blank design map and ending with a complete terrain and texture. Making a blank design mapThe first step in the process is to create a new design map. To do this, I'll select the 'create new project' icon on the toolbar (shown below).
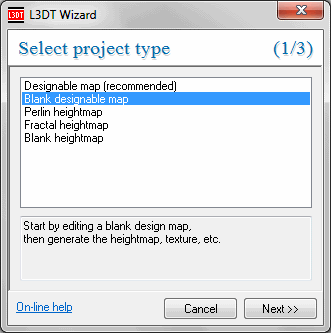
That button will open the Select project type wizard (below), from which I will select the Blank designable map option.
Clicking on the Next » button takes me along to the heightfield size wizard (also below). For the purposes of this tutorial, I'm going to use a 1024×1024 pixel height map, as shown below.
One more thing I'm going to do in the heightfield size wizard is set horizontal scale of the terrain. A smaller horizontal scale gives you more detailed terrain that covers a small area (good for FPS-style games), and a larger horizontal scale gives you less detailed terrain that covers a larger area (good for RTS / flight-sim games). As a rough guide, the table below lists the typical range of horizontal scales used for popular types of games.
For this demonstration, I'm going to pick a horizontal scale of 10m, which is pretty-much in between the two extremes (FPS and flight-sim). This will give me a map that covers 10×10 kilometers, or around about 6×6 miles in old-speak. Continuing; I'll click Next » in this wizard to take me to the design map size wizard, shown below:
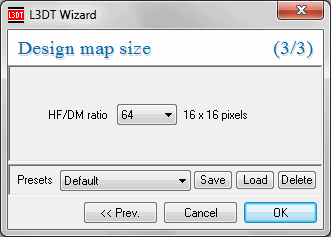
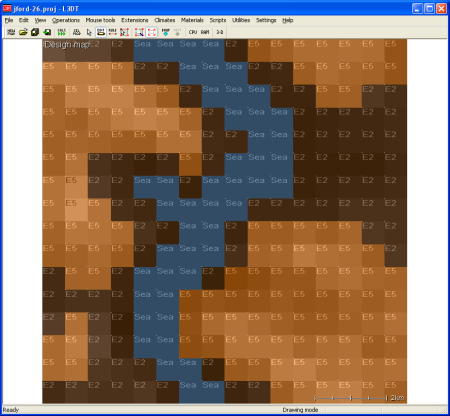
The one and only setting in this wizard pane is the ratio of the size of the design map to the heightfield. This basically sets the granularity of control you have over the final heightfield. A small ratio gives you finer control but is more work (this is OK on small maps), and a large figure gives you more automation but less control (this is best on huge maps). I'm going to use the default value of 64, which means that the design map will consist of 16×16 pixels (1024 / 64 = 16). Clicking 'OK' in the wizard will take us to the blank design map:
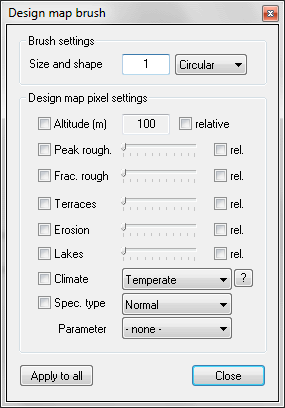
Sketching the designSince I want to design the whole map myself, I'm going to go straight for the design map brush (shown below), which is activated by clicking on the little 'edit' toolbar icon:
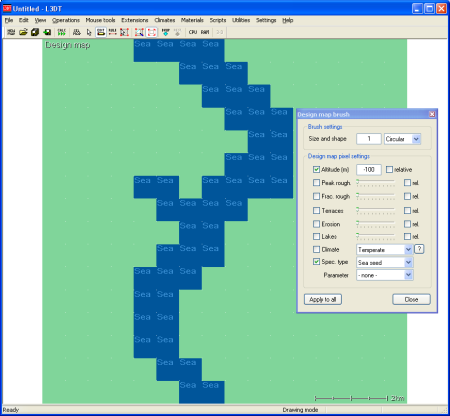
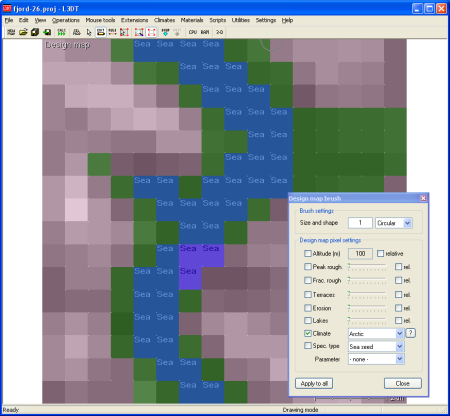
It's often easiest to start by drawing the water first, so as to define the coastline of the map. To do this I'll set the altitude (Alt.) to -100m1). Since I'm painting the sea, I may as well set the Special overlay type to 'sea seed' and enable it (see below). A 'sea seed', for those not in the know, is a flag for the automatic sea-flooding routine that says “Hey, try to flood some sea here”. You only need one sea seed per water body, but it does no harm to paint them everywhere. The other way to flood sea is to use the manual flooding tool, which should probably be the subject of another walkthrough tutorial. But I digress, I was setting the Alt. to -100m and the Special overlay type to 'sea seed':
To paint the water, simply left-click and drag the brush over the map:
I should point out now that if you de-activate the design map brush (eg. by right-clicking on something else, zooming the map, etc), you can re-activate it by left-clicking within the tool window or on its title bar. This knowledge may come in handy later. Now, an important feature of fjords are all the mountains around them. To build mountains, I'm going to set the Alt. to 100m, and enable the relative checkbox (see below). This means that wherever I click, I will be raising the terrain by +100m. If I hadn't checked the relative flag, I would only be setting the terrain to 100m, which is not what I want to do. Also, I'll disable the sea seed flag, as I don't want to try to put sea on the sides of mountains.
Using these settings, I scribbled all over the map like a child with a crayon, resulting in this:
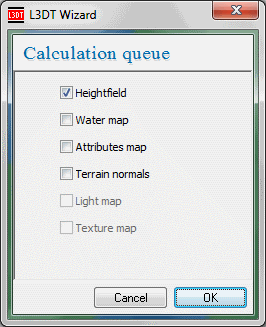
L3DT does a reasonably good job at interpolating between the values, so you don't have to be really precise or artistic here. Near enough is good enough. Generating the heightfield (1st attempt)To get a feel for what I've done, I'm going to go ahead and generate the heightfield by clicking on the 'calc' toolbar button. This will open the calculation queue wizard, shown below.
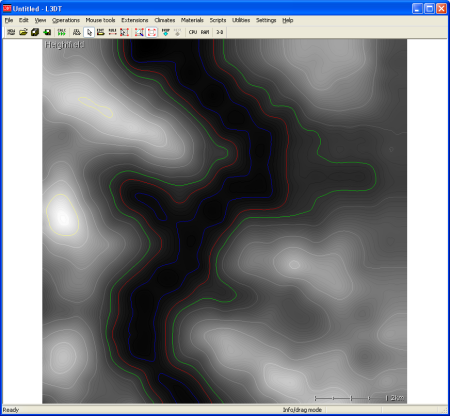
In this wizard I'll select the 'heightfield' option and click OK. The result looks a little something like this:
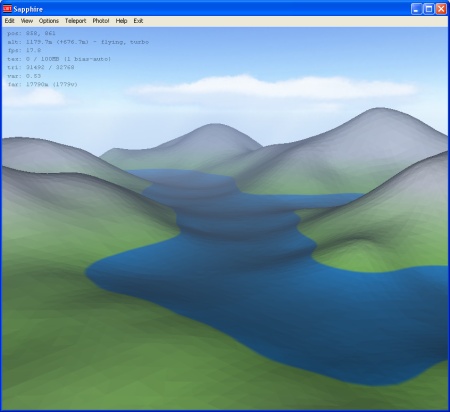
Okay, it's about the right shape. To view this in 3D, I'm going to click on the '3D' button on the toolbar. This will open the Sapphire 3D viewer/editor window, as below:
From the 3D view I can see that the terrain is clearly too smooth and un-fjord-like. To fix this, I could use Sapphire's heightfield brushes to manually roughen the terrain and make cliffs. However, that would require a lot of brushwork. Instead, I'm going to take the easier (and better) path, and make L3DT's terrain algorithms do all the work for me. To do this, I'm going to add overlays in the design map for peak and fractal roughness, as well as cliffs and terraces. Roughness, cliffs, and terracesBefore I start painting these mask layers I will need to switch the view back to the design map (View→Show map…→Design map). Alrighty, in the design map brush I'm going to enable the Peak, Fractal and Terraces options, and set the sliders to about 30%, 30% and 20% respectively:
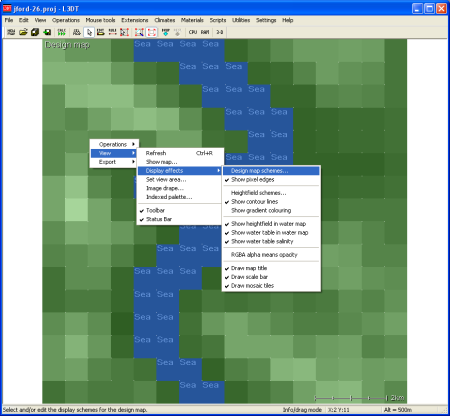
I want to apply these settings to every pixel in the map, so I'll hit the apply to all button. This will make the terrain look better, but before I generate the heightfield again I'm going to lay down some erosion. 'Painting' erosionErosion, as I may or may not have remarked earlier, is what being a fjord is all about. However, before I go splashing water about I will need to change the display scheme so that I can see what I'll be doing. To do this, we right-click on the main window and select the 'View→Display effects→Design map schemes…' option from the pop-up menu (see below).
This will open the select scheme for design map window:
Because I'm going to be working with erosion, I'll select the Erosion scheme from the droplist. Since I haven't yet set any erosion in the map, this scheme will show the map as a plain greyscale height-map with a blue tint in the areas where I've previously painted water:
My plan is to apply a little bit of erosion to the whole map, and strong erosion to the mountains. To do this, using the design map brush, I will enable the erosion option, set it to 20%, and click apply to all. Following that, I will set the erosion slider up to 50% and paint the erosion onto the mountains (see below).
Note that now the map has taken on a decidedly orange tint. This shows where I have painted the erosion overlays. Generating the heightfield (2nd attempt)Anyhow, that's about it for the design bit. To proceed to the heightfield, I'll again select the Operations→Heightfield→Generate map menu option. The resulting heightfield looks like this:
Again, I'll take a look at how this map looks in 3D by clicking on the '3D' button on the toolbar. This opens the Sapphire 3D renderer:
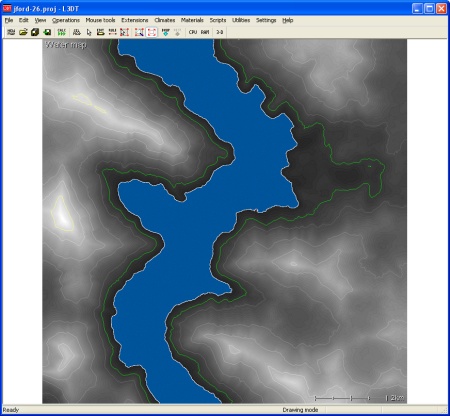
Now, I could use Sapphire's mouse-driven brush tools to further edit the heightfield in 3D. However, since this is a tutorial about how to use the design map to build terrain, I won't get side-tracked into a discussion of the heightfield editor. If you'd like to know more, please consult the editor user-guide. In any case, the heightmap already looks OK to me, so no manual heightfield editing is necessary. Thus, I'll now proceed to generate the water map. Water mappingTo flood seas automatically, I'm going to use the 'Operations→Water map→Auto-flood seas' menu option. This will flood seas in the areas where I had earlier put 'sea seeds'.
Making the attributes mapThe next step is to generate the 'attributes map', which is the mask map that controls which ground texture goes where when we finally generate the texture map. To generate the attributes map, select the 'Calc' toolbar button. This will open the 'Calculation queue' wizard, show below:
In the wizard, I'll select the 'attributes map' option, and click 'next' to go through to the attributes map wizard:
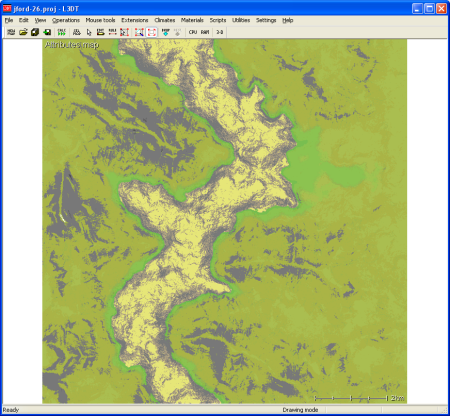
In this wizard I'm not going to touch the 'Make high-res attributes map' or 'use disk-drive paging' options. These options, which are only available in L3DT Professional, allow you to make very highly-detailed attributes maps, which are necessary for high-quality textures. In this tutorial I'll just stick with the default low-res, non-mosaic attributes map, and click OK. L3DT then generates the following attributes map:
Oopsie daisy, this all looks a bit too balmy and green for a fjord. Clearly, I forgot to tell L3DT that I want this map to use a cold climate. To do this, I need to do is go back to the design map and, using the design map brush, paint some 'arctic' climate around the place:
Note that I've left the temperate (green-coloured) climate near the coast and in a valley at top-right. Okay, back to generating the map. What I need to do is re-calculate the attributes map, which is done by clicking on the 'Operations→Attributes map→Generate map' menu option. The new attributes map looks decidedly more frosty:
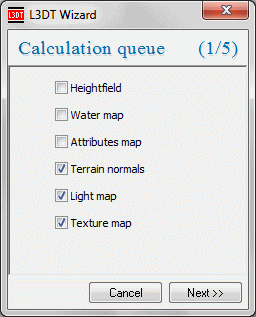
Making the texture mapTo make the texture map, I'm now going to click on the 'Calc' toolbar button, and enable the 'terrain normals', 'light map' and 'texture map' options in the calculation queue wizard (as below).
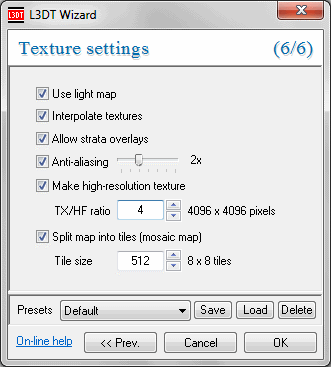
Because I want some pretty screenshots of this map for this tutorial, I'm going to make a high-resolution normal map, light map and texture map (4× in this case). The settings in the relevant wizard panes are shown below:
If you are using the free L3DT Standard Edition, you will not be able to generate high-resolution normal maps or light maps. Other options in these wizards may be disabled also.
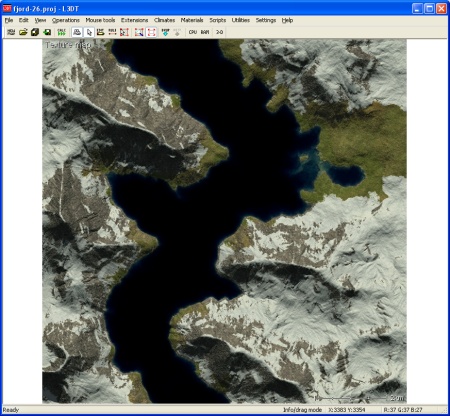
After I clicked OK, L3DT generated the following texture map:
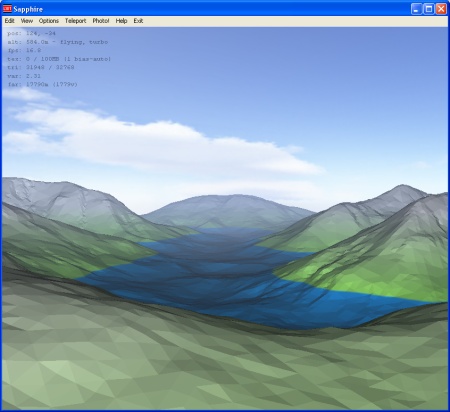
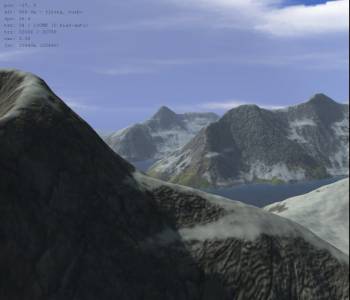
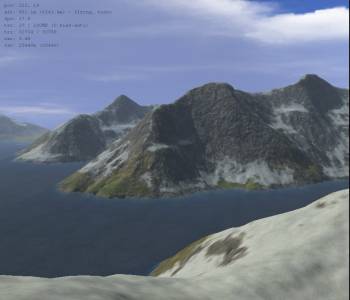
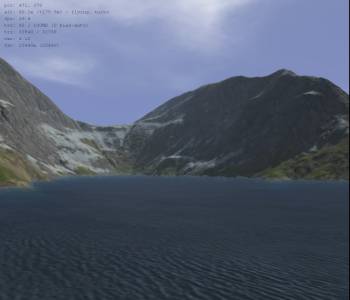
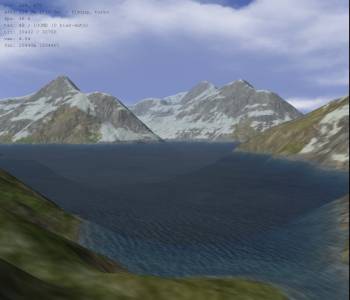
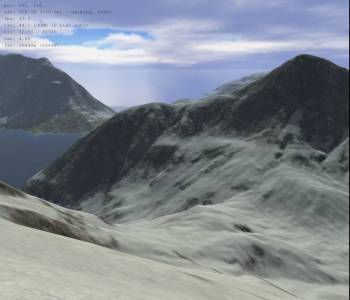
Pretty picturesVoi la. All that's left to do is to open Sapphire again and take some screenshots:
And that's it. I hope this has helped. 1)
I know fjords are typically deeper than this, but hey, it's made-up terrain, so it can be any depth I like.
Except where otherwise noted, content on this wiki is licensed under the following license:CC Attribution-Share Alike 3.0 Unported
|

