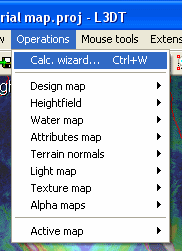
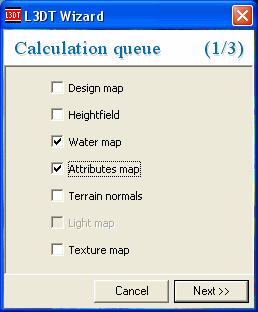
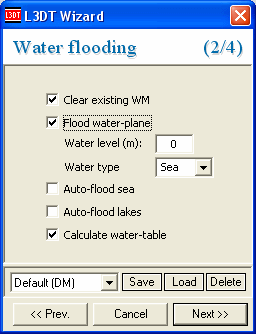
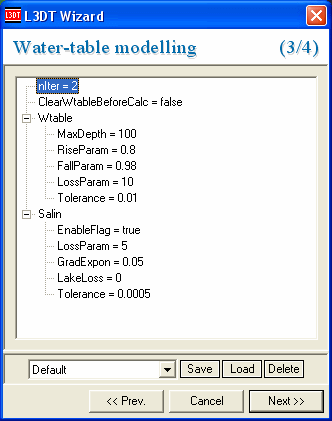
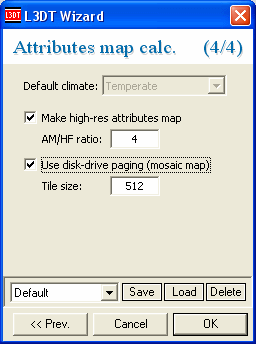
Part 4: Some calculationsThe next step in the road building process will be to add the road to the attributes map. However, to do this we'll first have to calculate both the water map and the attributes map. To do this, select the 'Operations→Calc. wizard' menu option (shown below), or select the 'calc »' toolbar button. In the calculation wizard, select both the 'water map' and 'attributes map' options, and click 'next »'. In the flood wizard, enable the 'flood water-plane' and 'calculate water-table' options (as below), and click 'next »'. You shouldn't need to change any settings in the 'water table modelling' wizard (shown below), so click 'next »'. In the 'attributes map' wizard, enable the 'make high-res attributes map' option and set 'AM/HF ratio' to 4, and enable 'use disk-drive paging (mosaic map)' and set the tile size to 512 (as below). Click OK to proceed. After the water map and attributes map calculations are complete, L3DT should show an attributes map such as that below:
Except where otherwise noted, content on this wiki is licensed under the following license:CC Attribution-Share Alike 3.0 Unported
|

