|
Table of Contents
Making the heightfield and texture for Spring
Getting startedThere are many ways to make a map in L3DT, but I shan't cover all of them in this guide. In fact, I'm only going to cover the “well-travelled path” of using L3DT's Design/Inflate algorithm. If you'd like to experiment with other ways to make your map, you may find the following reading useful:
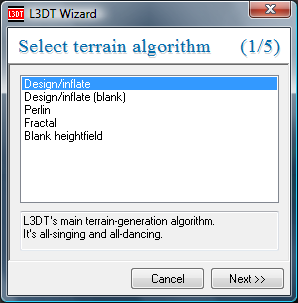
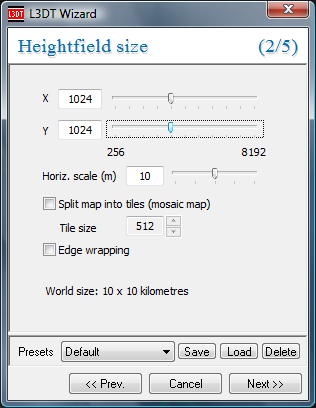
Anyway, back to making the map. First, click on the 'New map' button on the toolbar. This will open the algorithms wizard (below), where you get to choose how L3DT will make your map. As you can see, there are five algorithms listed in the wizard. The first is the one we're going to use, so click 'next' to proceed. The heightfield and design mapThe next pane in the wizard is the heightfield map size pane (below). As you should already know, Spring's map sizes are quoted in units that are 1/64th the size of the heightfield. Thus, a 1024×1024 pixel heightmap will produce a map that is 16×16 in Spring units (1024 / 64 = 16). The table below lists some common Spring map sizes along with the heightfield sizes required to make them:
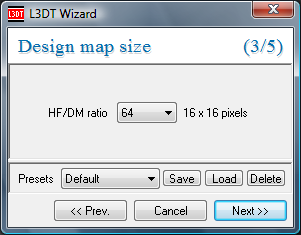
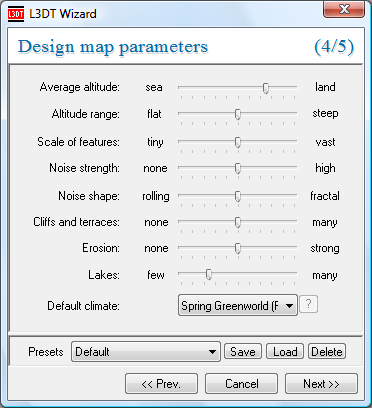
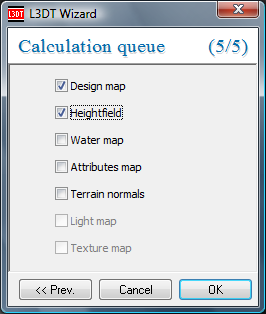
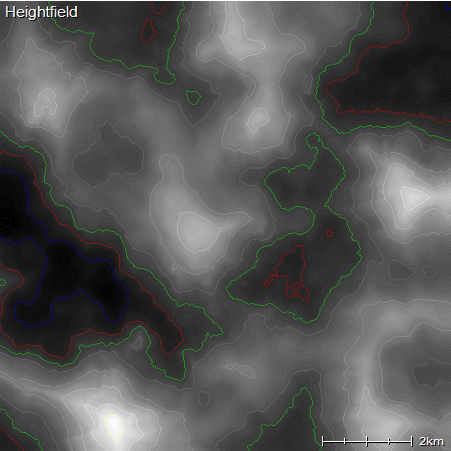
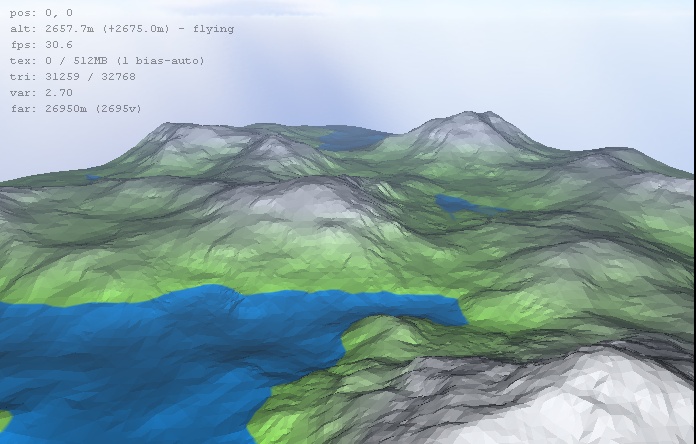
The default size is 1024×1024 pixels (16×16, in Spring units), which is a good size for the purposes of this tutorial. Let's click 'next' to continue. The next pane is the design map size wizard. The design map is a low-resolution map that is used as the template to produce your high-resolution heightfield. This wizard allows you to choose the resolution of the design map. The default setting is 1/64th the size of the heightfield, which is a good size. Click next to continue. The next pane is design map parameters, where you can set the general shape of your map using some “high level” controls (flat/steep, sea/land, etc). The only setting I'm going to change here is the climate. The climate ultimately determines whether your map will look like a desert or a jungle (or otherwise), and L3DT includes a number of climates to suit different occasions. Forboding Angel has created, and generously donated, a collection of climates that are suitable for Spring maps, and these are included with the installer. In this guide, I'm going to choose the 'Spring Greenworld' climate, as shown below: Following the design map parameters wizard is the calculation queue. In this pane you can queue-up several calculations to run back-to-back. Here I suggest you enable both the design map and heightfield calculations: After some flashy eye-candy, we should arrive at the heightfield, which will look something like that shown below. The red contour line is sea-level, the green contour is +100m, the blue is -100m, the like grey contours are every 100m, and the dark grey are every 20m. If you don't want contours, you can disable them using the 'View→Display effects→show contour lines' menu option. To visualise the terrain in 3D, you can click on the '3D' toolbar button to open the Sapphire 3D renderer plugin. At this stage, Sapphire will present you with a scene such as that below, consisting of the heightfield rendered in green. Later, once we've completed the texture, we'll come back to Sapphire to see what the complete map looks like. To move around in Sapphire, press the W/A/S/D keys to move forwards/left/backwards/right, and E/R for up/down. Also, you can edit the heightfield using brush tools by pressing the 'h' key (see user guide). The water, attributes, normals, light and texture mapsTo make the texture map, we'll first need to make some other maps, including:
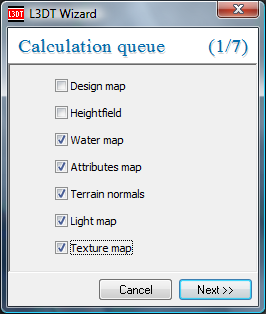
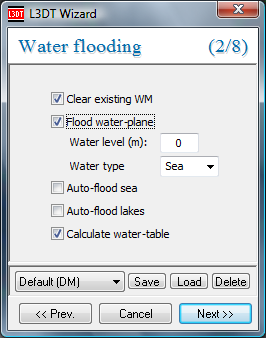
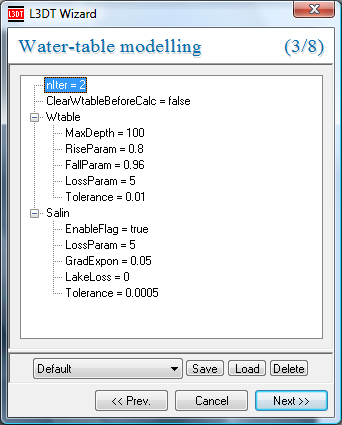
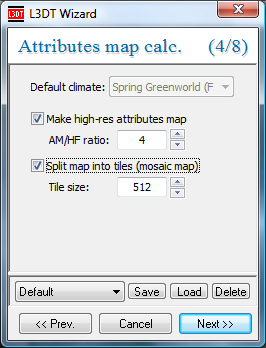
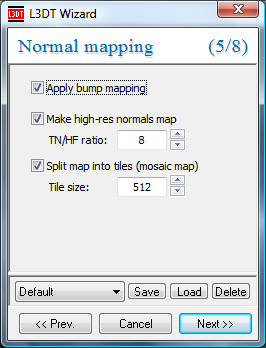
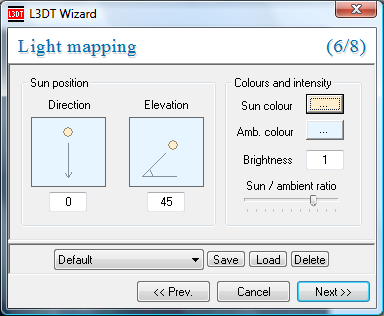
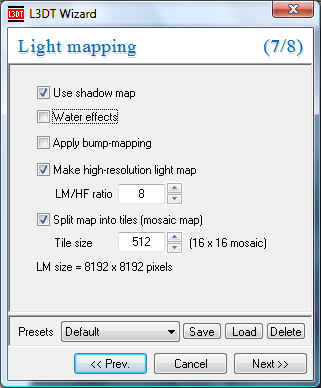
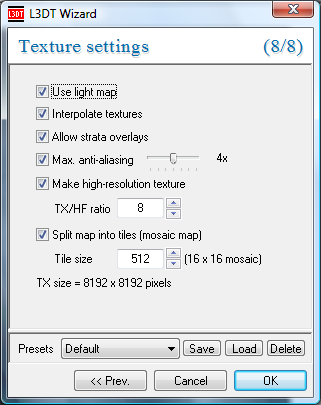
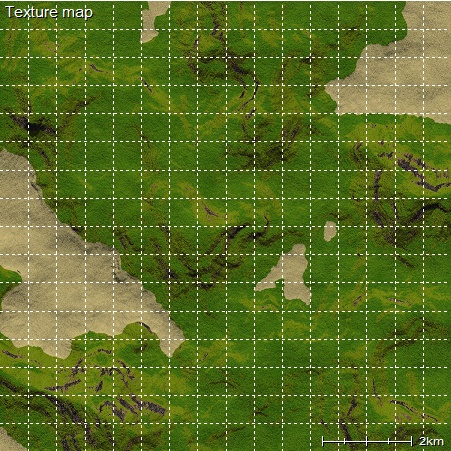
Fortunately, we can make all these maps in one go using the calculation queue wizard. To open the calculation queue, click on the 'Calc »' toolbar button. In the calculation queue, enable the options show below: When you click next, you will be taken to the water map wizard pane. On this pane, enable the 'flood water-plane' option, disable the auto-flood seas/lakes options, and enable the 'flood water table' option, like so: Once you click next, you will go through to the water table wizard. You shouldn't need to change any settings here, so click next. Now we're at the attributes map wizard. As I mentioned before, the attributes map is the 'mask' used for the texture blending. Because we'll want to make a high-resolution texture, we'll also want to make a high-resolution attributes map mask. Thus, we'll enable the 'make high-res attributes map' option, and set the AM/TX ratio to 4. You can also enable the 'Use disk-drive paging' option if you want to reduce the amount of RAM needed for the calculation. Clicking 'Next »' will bring you to the normals map wizard. Here, enable 'Apply bump mapping', enable 'Make high-res terrain normals', set 'TN/HF ratio' to 8, and enable 'Use disk-drive paging', like so: Next is the light map wizard, where you can change the lighting direction and colours. If you would like to tinker with the settings, please consult the light mapping wizard guide. In this tutorial I'm going to leave everything as default and click 'Next »'. The second pane of the light mapping wizard is where you set some of the lighting effects. In this wizard, disable 'water effects' and 'apply bump mapping', then enable 'make high-res light map', set 'LM/HF ratio' to 8, and enable 'split light map into mosaic'. Finally, click 'next »' to proceed. The last pane in the wizard is the texture wizard, Here we'll enable anti-aliasing and set it to to 4x (or 8x, if you prefer), enable 'make high-res texture map' and set it to 8, and finally enable 'split texture into tiles', like so: After you click OK, L3DT will go away and make all the maps requested. When done, the map will look something like this: Don't worry about the white dotted lines; they indicate the size of the tiles into which L3DT has chopped the texture map. The white lines are only for display purposes in L3DT, and won't be on the final texture when exported to Spring. At this point, it is a Very Good Idea™ to save the map project using the 'save' button on the toolbar. Okay, let's return to the main tutorial page to continue with the task of exporting the map to Spring's SD7 format. Except where otherwise noted, content on this wiki is licensed under the following license:CC Attribution-Share Alike 3.0 Unported
|

