|
Table of Contents
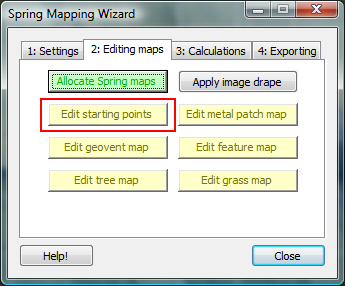
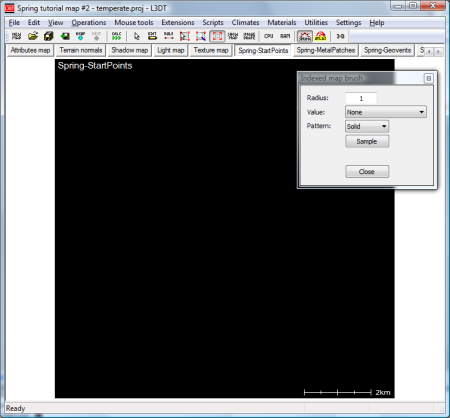
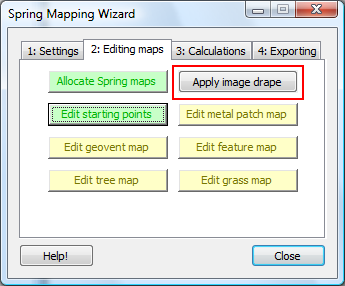
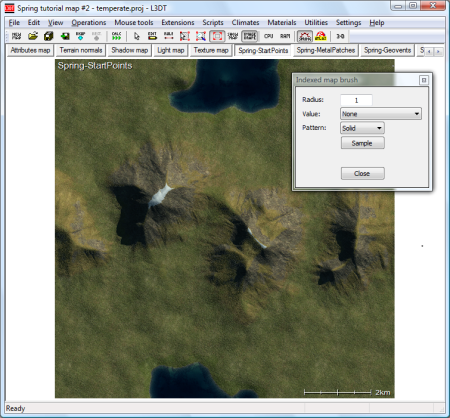
Making start pointsThe easiest way to set the starting points for the commanders/teams in your Spring map is to use the 'Spring-StartPoints' map. To edit this map, press the 'Edit starting points' button in the Spring Mapping Wizard, as highlighted below: When you press this button, L3DT will open the 'Spring-StartPoints' map and and editor brush, show below: The map is initially all black, which indicates no starting points have been assigned. Before you start editing...Before we get into editing the metal patch map, we're going to have a quick chat about using the image drape and zooming and editing controls. Using the image drapeSince the patch map is all black to start with, it can be difficult to work out exactly where to place your starting points. To make this easier, we're going to apply a semi-transparent overlay of the texture over the 'Spring-StartPoints' map display. To do this, press the 'Apply image drape' button in the Spring Mapping Wizard, as highlighted below: This will apply the texture map as image drape over the top of the 'Spring-StartPoints' map, as shown below: Zooming and editingBefore we get to editing the metal patch map, I should also explain how you go about zooming in and out on the map, as this is something you'll be doing a lot when editing maps. To zoom in or out on the map, select the 'zoom' icon on the toolbar, shown below.
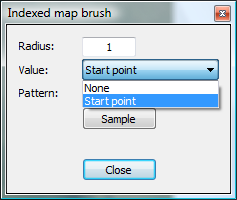
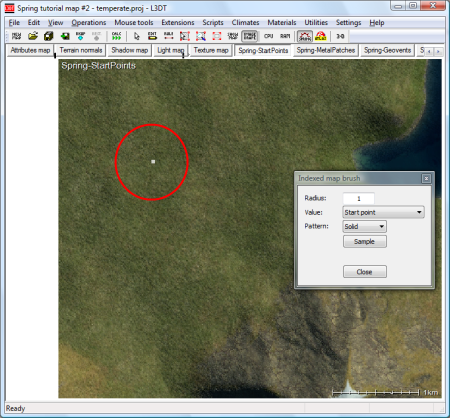
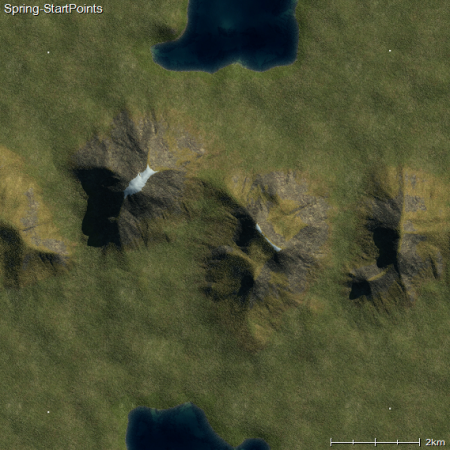
Placing starting pointsTo place a starting point, you must first select the 'Start point' option in the value drop-list within the 'indexed map brush' window, as shown below: Also, be sure to set the radius value to 1; if the brush radius is larger than 1, you will be putting a lot of team start points right next to one-another. To place a starting point, simply left-click the brush tool on the map. When you do this, the map pixel where you clicked should turn to a white spot, as shown below: The white spot indicates the position of a start point. To add another start point, click somewhere else. To remove a start point, select the 'None' option in the value drop-list, and click on the existing starting point. When you are done, your 'Spring-StartPoints' map should look something like this: Note the four starting points in the four corners of the map. The next page in the tutorial explains how to edit the metal patch map.
Except where otherwise noted, content on this wiki is licensed under the following license:CC Attribution-Share Alike 3.0 Unported
|

