Water flooding toolThe 'water map brush' window is activated by selecting the 'Tools→Water flood tool' option in the menu or by viewing the water map, and then clicking on the 'edit active map layer' toolbar icon shown below:
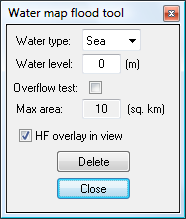
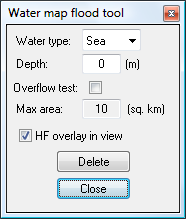
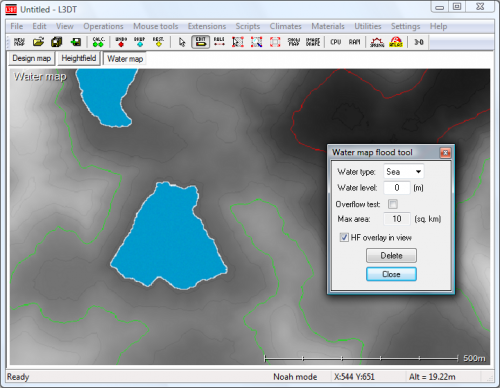
In this window you can set the water type (lake or sea), maximum area of the flood (in square kilometres), and water level / depth. The flood test will start wherever you left-click on the map. If the flood is successful L3DT will report the area of the water body, and if unsuccessful it will explain why. Clicking on the Depth label will switch to Water level and vice-versa (see above images). The difference between the two modes is that the former is the depth of the water at the point of flood, whereas the latter is the absolute altitude for the water surface. To make flooding a little easier to judge, L3DT automatically switches on heightfield / water map mixing to give altitude contrast and also display contour lines, as shown below. You can disable this overlay by un-checking the 'HF overlay in view' check-box.
If you change the mouse mode (eg to zoom, etc), you can re-activate the water map flood tool by left-clicking within the dialog box.
Except where otherwise noted, content on this wiki is licensed under the following license:CC Attribution-Share Alike 3.0 Unported
|


