|
Table of Contents
Making a new material
This introductory tutorial is intended to explain how to load new textures in L3DT using materials. The intended audience for this tutorial is new users who are trying to make a material for the first time. As such, this tutorial will not delve into the details of how to get the best out of materials in L3DT. If you follow this tutorial to the end, you should have a working material, if not a very pretty one. If you would like to go further into material optimisation after reading this tutorial, further reading is provided at the end. But with no further ado, let us begin the process of making a new material… Finding a texture imageIf you want to make a new material, you may well already have a the texture image you want to use. If not, however, you can find usable textures in on-line texture repositories such as cgtextures.com. When shopping for a texture, you should be looking for the following attributes:
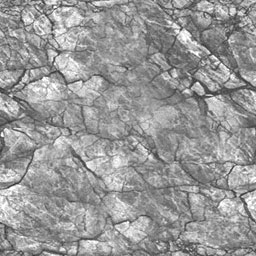
An example texture that meets these requirements is shown below:
A comment about texture detailIt is also critically important that your texture image is not too detailed for the resolution of the output terrain texture. For example, using typical settings a pixel in your texture image might end up covering a square foot in the output terrain texture. In such cases, it would make no sense having a grass texture in which the individual grass blades are distinguishable, because the grass blades would be blown up to the size of an SUV when stretched over the terrain texture. If you do want to use highly detailed textures, you will need to use extremely high resolution textures (a 'megatexture'), or else use texture splatting. Copying the texture imageOnce you have found your desired texture image you should copy the image file into the climate resources directory of L3DT, or into a subdirectory thereof. The climate resources directory path is:
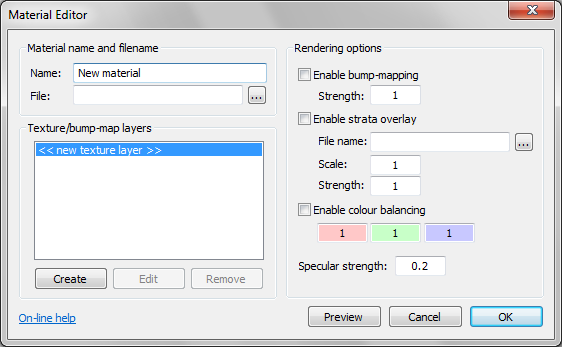
It's generally a good idea to store your custom textures in a new subdirectory within the climate resources folder, but it is not a strict requirement. Using the material editorTo create the new material, select the 'Resources→Materials→New material' item in the menu. This will open the material editor window, shown below:
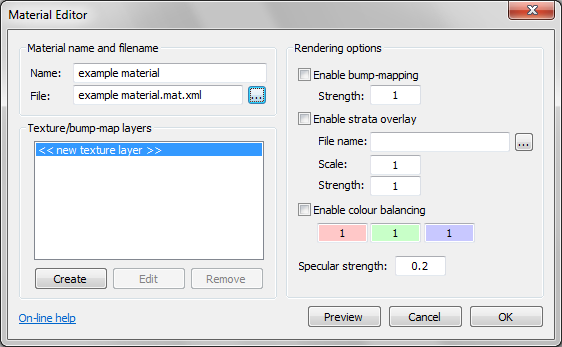
Material name and file nameThe first thing you should do in the material editor is to type the name of your material into the 'name' field. The name you enter must be unique (i.e. no other materials have this name). Once you have entered your material name, press the browse ('…') button, and enter the file name for your material. It's a good idea to store your material file in the same directory as your texture image(s). Once you have entered your material name and file name, the material editor should look something like as below:
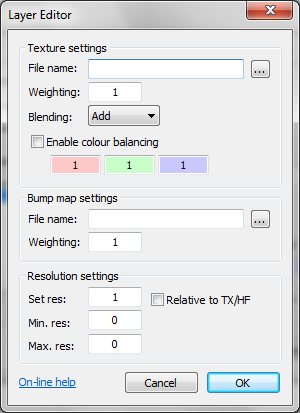
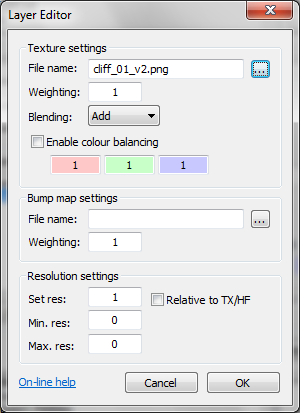
Creating a texture layerThe next step in making a material is to create a texture layer. In L3DT, materials typically have several texture layers, which are blended during terrain texture generation to produce a larger and less repetitive material texture. In this example, however, we're only going to make one texture layer, just to demonstrate how it's done. To make the texture layer, select the 'create' button in the 'texture/bump-map layers' area. This will open the layer editor window, shown below:
In the layer editor, press the browse ('…') button to load your texture image. When this is done, the layer editor should look as below:
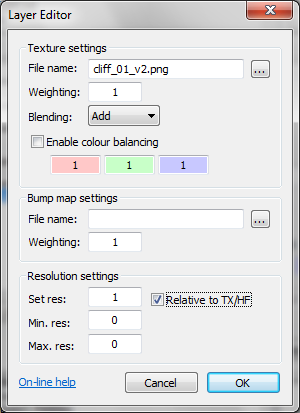
The next step is to set the texture scaling mode. These settings control how the texture image will be stretched when generating the terrain texture image. For a simple single-layer material, set the resolution 'set res.' to 1, and enable the 'relative to TX/HF' check box (see below). This setting means that the texture image will be unscaled when generating the terrain texture map; one pixel in the material texture image will cover one pixel in the output terrain texture.
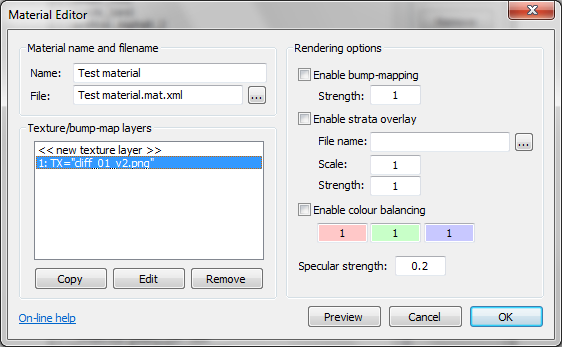
The other settings in the layer editor will not be discussed in detail in this tutorial, as they are already described in the user guide for the layer editor window. After you click OK in the layer editor, you will see that the texture layer is now listed in the material editor window:
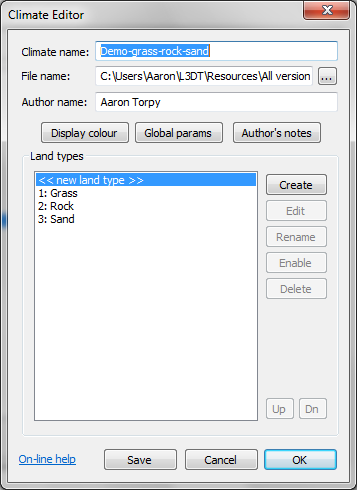
At this stage, the basic material is ready to use. Applying the material to a land typeTo use a material, you need to assign the material to a 'land type' in the climate you are using. To do this, select your climate from the list in the 'Resources→Climates' menu. This will open the climate editor, shown below. [For this example, I am using the simple 'demo-grass-rock-sand' climate.]
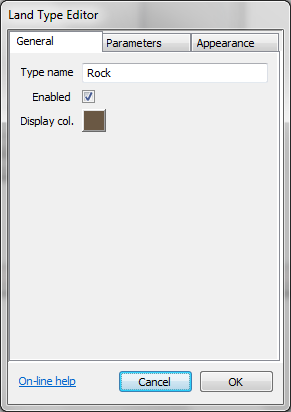
In the climate editor, select the land type that you wish to use your new material, and press the 'edit' button. This will open the land type editor window, shown below:
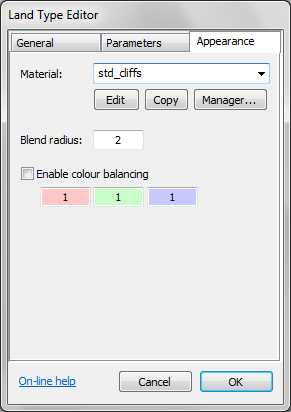
Select the 'appearance' tab:
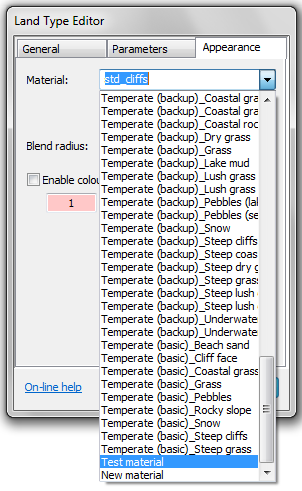
In the appearance tab, select your material from the material drop list:
With the material set thus, you may now press OK to exit the climate editor, and OK again to exit the climate editor. Applying the climateIn the last section you modified a land type to use your new material. You will need to manually apply that climate to your map project if:
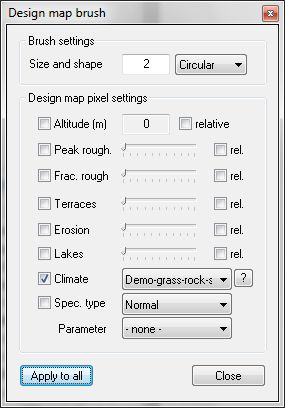
To do this, select the 'Tools→Design map brush' menu item. This will open the design map brush window, shown below:
In the design map brush, enable the climate checkbox, select the desired climate from the drop list, and press the apply to all button:
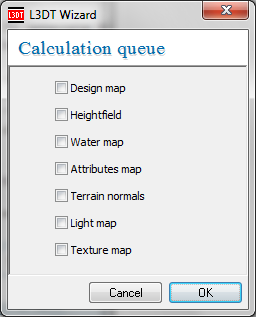
After modifying the design map thusly, it is necessary to re-generate the attributes map before proceeding. To do this, select the 'Operations→Attributes map→Generate map' menu item. Generating texture mapTo generate the texture map, select the 'Operations→Calculation wizard' menu item. This will open the calculation queue wizard, shown below:
If your map already contains a normal map or light map, these maps will need to be re-generated, so enable them in the list. Finally, enable the texture map in the list, and press 'Next »' to proceed through the calculation wizards. Further readingAs promised in the introduction, this tutorial explained how to make a basic material and use it in your map. The topics below explain how you can then improve the appearance of your material using some of the more advanced features of the material system. Bump mapsBump maps add additional realism to your materials by adding the appearance of 3 dimensional surface roughness to the light map. To create and use bump maps, please see the making and using bump maps tutorial. Detail map
This section is incomplete

Strata texture
This section is incomplete

Except where otherwise noted, content on this wiki is licensed under the following license:CC Attribution-Share Alike 3.0 Unported
|

