Making the heightmapRecommended program for drawing heightmaps (A.K.A. 'heightfields') are Photoshop or The GIMP.
Ok for you nubs out there
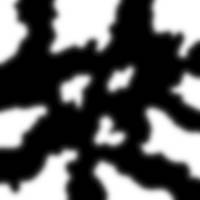
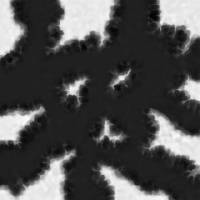
Now to explain that further. My method for creating heightmaps is to use my penmouse (hand mousing is fine as well For canyons I came out with this: After you have drawn the outline, use the paint bucket tool to fill in your outlines. There you have hills valleys etc. Now from this point there are several options on what to do with your heightmap. You can either try to smooth it out by using Gaussian blurs, or you can run it through an effects filter (which is my preferred method). Use the File->Import heightfield option in L3DT. Once your heightmap is imported, click on operations at the top and select design map. Move the sliders around to how you think you would like your map to look, then hit ok. After that click operations again, and go down to heightfield and choose “generate map”. It will ask you if you want to overwrite, choose yes. This process will take a little while so just sit back and relax. Once it is done, go to file, export, heightfield, and save the file as “Height.bmp”. Pull the heightfield into photoshop or gimp, and smooth out the flatland a bit, save. For canyons the result was this: Once you are done smoothing, pull the heightfield into The Gimp (NOT PHOTOSHOP, PHOTOSHOP'S IMAGE SIZE ROUTINE WILL RUIN THE HEIGHTFIELD), and use the scale option on CUBIC to blow your heightmap up to the same size as your texture map will be (Texture map defines the total size of your map. For a 16 x 16 the texture map size is 8192 x 8192) and save it has a new file. Heightbig.bmp is my preferred filename. You are done with the heightfield portion. Pat yourself on the back, you have finished about 16.6% of your map. Next sectionExcept where otherwise noted, content on this wiki is licensed under the following license:CC Attribution-Share Alike 3.0 Unported
|


