|
Table of Contents
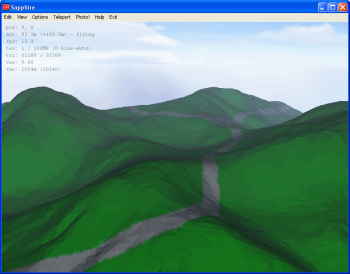
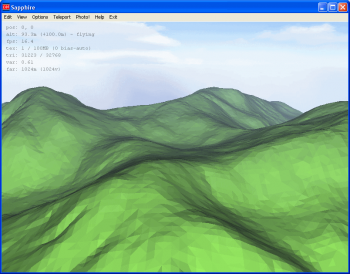
Part 3: Adding the road to the heightmapNow for the fun part - making the road using the bulldozer brush in Sapphire. Opening SapphireIf the 3D viewer is not already open (as it should be if you followed the last section), you can open the Sapphire 3D viewer using the '3D' button on the L3DT toolbar, or else by selecting the 'Extensions→Sapphire→Open 3D renderer' menu option. If you've applied the template image from the last section, the results should look like the image below left, and if not, it should look like the image below right.
Sapphire controlsIf you're not familiar with Sapphire, the controls are:
Please note that this is a short list of the controls. The full list is provided in Sapphire's user guide.
If you are using a non-QWERTY keyboard, you can re-map these keys to more convenient ones. Please see Sapphire's user guide for instructions.
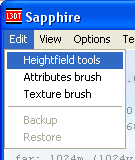
Selecting the heightmap brush toolsTo open the heightfield editing tools in Sapphire, select the 'Edit→Heightfield tools' menu item, shown below:
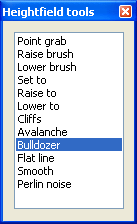
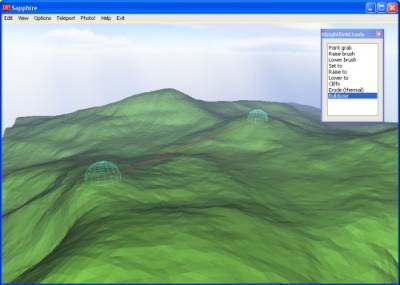
This will open the 'heightfield tools' dialog box, shown below. This dialog box lists all of the brush tools that are available to you for editing the heightmap in the 3D editor. The main one we're going to use for roads is the 'bulldozer' brush.
After enabling the heightfield tools, Sapphire will automatically cancel the overlay of the template image. There is a reason for this behaviour, but it's not particularly valid in this case, so please go ahead and select the 'Options→Select texture' menu option to re-enable the template image overlay.
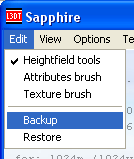
Storing a backupIf you're human like me, you're probably going to make mistakes. L3DT does not yet have a full 'undo' system, but it has the next best thing: backup and restore. To store a backup copy of your heightfield before you do any editing, select the 'Edit→Backup' menu option (as shown below). If, after some messing about with the heightfield brushes, you realise that you have indeed made a mistake, you can undo your changes using the 'Edit→Restore' menu option. This will restore the heightfield to how it was when you last pressed 'backup'. You can press 'backup' as often as you like (e.g. after 'good' changes), and 'restore' will always revert to the last backup point you've made.
I strongly suggest you make a backup before you proceed with using the heightmap brush tools.
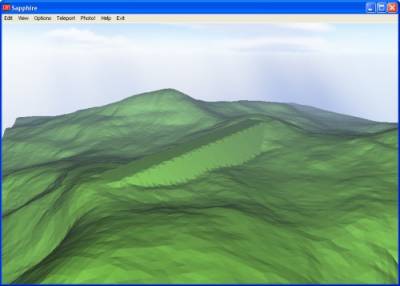
Using the bulldozerThe bulldozer is Sapphire's tool for making a uniformly-sloped point-to-point road, along with any embankments or cuttings required to make it fit with the surrounding terrain (e.g., see below).
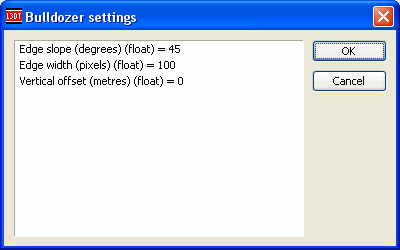
To enable the bulldozer, select the 'bulldozer' option in the 'heightfield tools' dialog box. This will open the 'bulldozer settings' dialog box, shown below: You probably won't need to change these settings from the defaults, but for completeness, I'll explain what they mean below. To edit any of these settings, double-click on them in the dialog box.
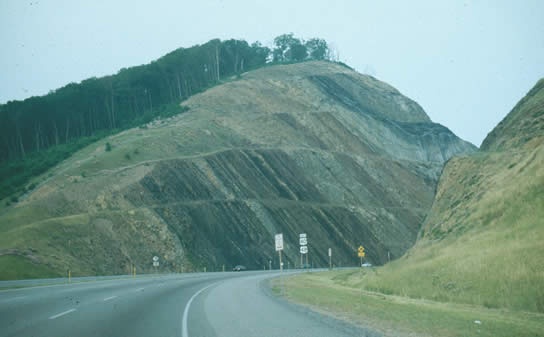
The image below, nabbed from the internetwebs, shows a real-world example of an embankment created by blasting/bulldozing a road through an Appalachian hillside. The slope looks a bit steeper than 45 degrees; maybe around 60 degrees.
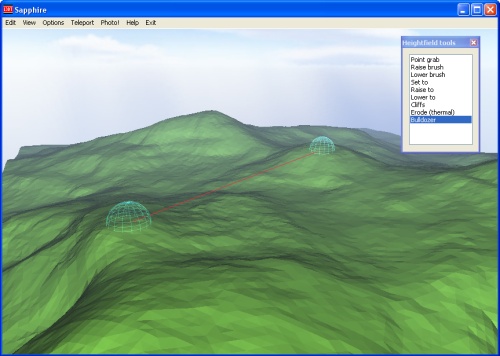
To apply the bulldozer, simply left-click-and-hold the mouse on the start point, drag to the end point, and release the mouse button. As you're dragging the bulldozer tool, spheres will be shown at the start and end points, with a red connecting line. To change the width of the bulldozer brush, use the mouse scroll wheel. The width of the bulldozer path is shown by the diameter of the bulldozer tool sphere.
Remember, if you make a mistake, you can undo it using the 'Edit→Restore' menu option in Sapphire.
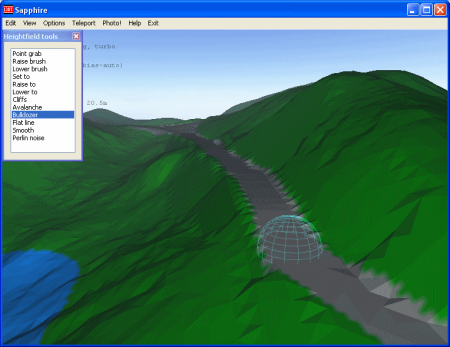
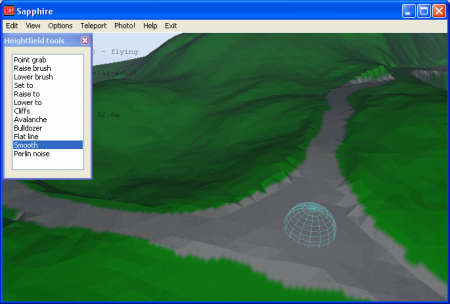
By making several bulldozer brush-strokes along the road path in the template, I came up with this: Using other heightfield toolsThe bulldozer brush often makes sharp, unsightly edges. After bulldozing the road path, you can clean-up these edges using the other heightfield tools, such as 'Smooth' (shown below) and 'Avalanche'. Once you're happy with the heightfield geometry of your road, you may close Sapphire.
Except where otherwise noted, content on this wiki is licensed under the following license:CC Attribution-Share Alike 3.0 Unported
| ||||||||||||||||||||||||||||||||||||||

